Quickly and Easily Create a Perennial Flowerbed
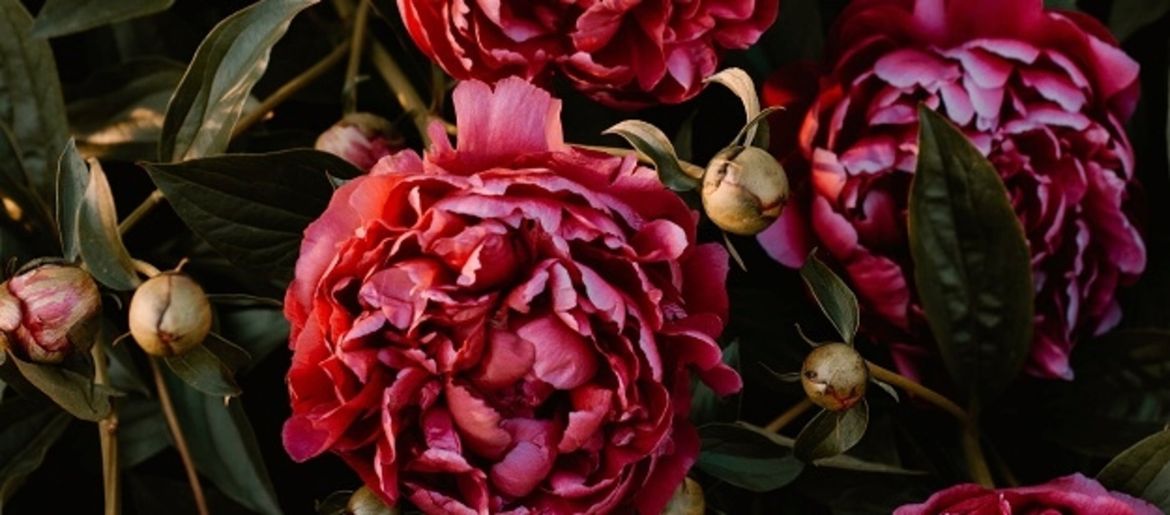
Perennial beds offer something beautiful to every garden with their large variety of colours, sizes and shapes.
What are Perennials?
Perennials are not unlike shrubs, but unlike the latter, they have no woody parts above the ground. Their stems and twigs are soft and flexible. Most perennials die above ground at the end of the gardening season, but will sprout again next year.
"Leading Perennials": What's That?
"Leading perennials" are the perennials that stand out during flowering in your bed. Depending on the season, other plants are the leading plants. Then you should choose suitable accompanying plants or filling perennials to let your stars really shine.
Popular Perennials
It can be hard to choose which perennials to plant because there are so many! Here is a list of the most popular types:
- Asters
- Stonecrop
- Bellflowers
- Daisies
- Larkspur
- Yarrow
- Coneflowers
- Geraniums
Finding the Best Location
Make sure to choose the right location for your perennials. These plants prefer a wide variety of different locations, so make sure to carefully choose which plants to plant where. This will help you map out your garden based on which plants need which planting conditions. A few parameters to look at are:
- the soil conditions
- the lighting conditions
- the type of perennial bed you want to plant
Other things to think about are which filler plants you would like, and what height the plants in your garden will grow to. Large shrubs should be planned carefully so they don't overshadow smaller plants. Optimal planting times and care area also important to think about.
When Should You Plant Your Perennial Bed?
You can plant perennials twice a year, but the best time is in September and October, in the middle of autumn. The second best time is in the spring around March and April.
How to Plant Your Garden - in a few simple steps
Step 1: Prepare the Bed
Make sure your plants have plenty of space. As a first step, you should carefully remove any branches and weeds from the bed. Then it's time to till the soil. Dig deep into the soil, turning it over and breaking up any clods. You can also remove unwanted root balls so that weeds do not grow as quickly. Finally, rake the soil smooth.
Intermediate Step (optional): Stake off the Bed
If you like working precisely, mark the edges of the bed using sand. You can also use stones, string or stakes but unlike sand, you'll have to put these away at the end of the season.
Step 2: Improve the Soil
Make sure your plants have enough nutrients to grow well. It is best to enrich the soil with humus-rich potting soil. This type of soil is very nutritious and offers the root balls everything they need for rapid growth. Around 20 to 30 litre of humus potting soil should be applied per square meter. You can also use compost from your own garden!
Please note: peat is not suitable for perennials. It rots too quickly, preventing the nutrients from remaining in the soil long enough to benefit the perennials.
When you prepare the bed, you can simply spread the compost or potting soil over the bed with a rake. The more you use the rake, the better the compost is worked into the soil.
Step 3: Arrange Your Perennials
When arranging the plants, always think about the needs of the respective perennial. Always remember to keep the recommended planting distance between the plants. Simply place the plants in their pots exactly where you think you want them, and make sure that there is a distance of 30 to 50 centimetres between the individual plants.
Step 4: Planting
For planting, you should water the perennials in their pots first. Then dig out the individual planting holes. These should each be as deep as the pot the perennials come in.
Once that's done, lift the perennials out of the pot. You can now scrape or cut open the root balls a little so that the roots grow faster. Finally, simply place the perennials in the holes and fill them up with potting soil.
Step 5: Water Them!
After planting, the perennials should be thoroughly watered. The soil should be moist up to around 20 centimetres deep.
Note: Should the soil settle due to watering, now is the perfect time to replenish the potting soil around the plant.
Step 6: Care
Take good care of your plants for the first few weeks after planting, removing weeds that can negatively effect their growth. Removing weeds when they are still small is easier and quicker and allows the plants to grow to their best potential.
These six simple steps are all you need to enjoy a beautiful garden full of flowers!
Latest reviews
-

elho Self-Watering System, Ø 17 x H 16 cm
- 100% recyclable
- Keep your plants optimally watered at all times
- Different sizes available
-
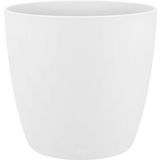
elho brussels, 16cm, White
- White
- Anthracite
- Sorbet Green
- For indoor use
- Timeless appearance
- Very robust quality
-

Esschert Design Twine Holder with Scissors, industrial
- Cool industrial design
- Made from robust cast iron
- Size: 16.6 x 9.5 x 25 cm
Magazine Articles:
-
Great Britain: Free standard delivery from £69.90
-
Free
returns More than 6.750 products
Secure payments
with SSL encryption technology
